

The Equilibrium Dungeon is the endgame PvE activity to come with the massive Destiny 2: Renegades expansion. Here’s how to complete it.
The Equilibrium Dungeon, the premiere endgame activity in Destiny 2: Renegades, asks those who challenge it to overcome long odds and the burgeoning threat of a new set of Dredgens. Completing it isn’t quite as involved as taking on a raid, but don’t expect it to be easy. Here’s everything you need to know.
Note: This guide is being actively updated as we discover new information about the encounters.
How to complete the Equilibrium Dungeon in Destiny 2
The Equilibrium Dungeon takes place across three encounters and relies heavily on a mechanic called Gathering Shadow, which you earn by entering pools of Darkness energy scattered around each encounter area. How you use the buffs it provides grows more complex with each encounter, as well.
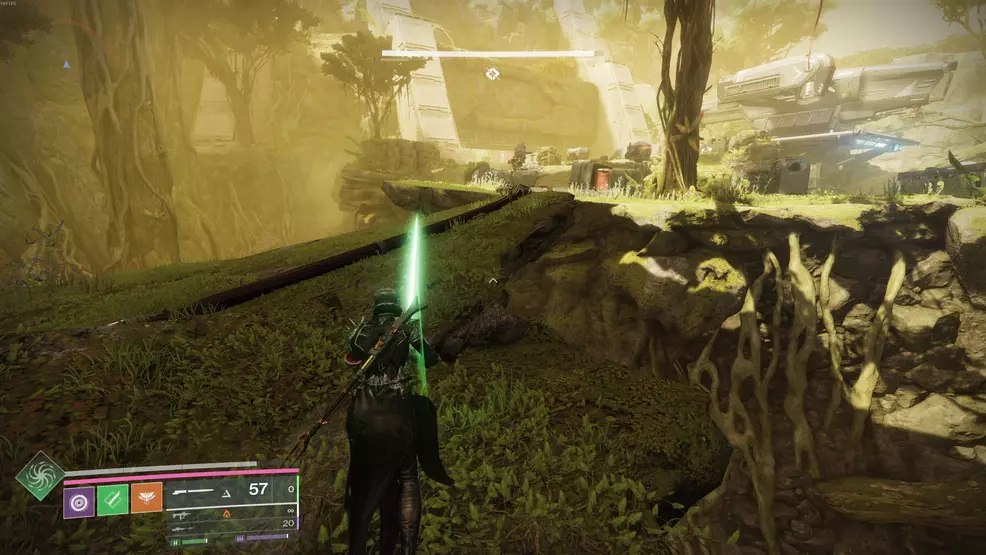
After loading into Equilibrium the first time, you’ll need to Clear the Temple Grounds, which is a simple bit of add clear in the starting zone. You can then progress to the first arena where a jump ship is docked, and the first real test begins.
How to Defeat the Barant Imperium Forces

The first encounter in Equilibrium is an add clear race. Interact with the ship docked in the arena to start the encounter and summon a wave of enemies. Three of these enemies are called Nameless Apprentices, and each has an immunity shield you need to break.
Here’s the breakdown of how this encounter works:
- Three Nameless Apprentices spawn with immune shields.
- Bring one of the Apprentices to the Cabal device near the red barrier shield.
- Activate the device when the nearby Apprentice starts to charge up Darkness energy. Doing so successfully drops the barrier.
- Players get on the three Sparrows and navigate the tunnels beyond the barrier, picking up Gathering Shadow energy as they go. You cannot stay in the tunnels indefinitely, as the Creeping Shadows debuff will eventually kil you.
- Once the Shadow player(s) picks up enough Gathering Shadow to earn the Shadow Novice buff, which allows them to swap their Grenade for a special Shadow attack.
- When the Shadow nears the Apprentices, they will summon Darkness energy, and the Shadow player can then use their special grenade to dispel the shield, allowing the team to take the enemies down.
- Every time you defeat a Nameless Apprentice, a Cabal drop pod will bring in additional enemies and a yellow-bar Goliath walker.
- You need to defeat six Nameless Apprentices in total, plus all the remaining enemies, to clear the encounter and spawn the loot chest.
Once you claim the loot, board the Harvester jump ship to proceed to the next section of the Dungeon.
How to complete Search for Imperial Intelligence
It wouldn’t be a Destiny 2 Dungeon without at least one platforming section, and this is it. The platforming here isn’t nearly as difficult as you’d find in a Raid like the Desert Perpetual, but it can still cost you time and sanity if you don’t easily make it through.
Here’s the breakdown:
- Jump up on the ship in the red-lit hangar, then onto the hanging platform above it, and across to another, smaller platform with a breakable grate.
- Take the first right as you traverse the short tunnel section, then use the hole in the floor to drop down.
- Wait for the door to open, then proceed forward, taking the first left, and continue until you see a group of enemies. Clear or ignore them as you please.
- Jump up onto the upper level to the left of the enemy group, then keep right and continue through the hallways.
- When you reach a cargo bay with slanted doors on your left, shoot the lit fuse between the two middle doors to open the way.
- Jump across the gap that appears, but beware that you’ll be pushed to the right, so plan your jump accordingly.
- Proceed down the red-lit hallway until you reach a room blocked by two barriers at either end.
- Use the door in the entry hall to go around the left-hand barrier, then shoot another fuse to drop it.
- Shoot the fuse above the entrance passage to drop the second barrier on the right, then take the only right at the end of that hallway.
- Hop into the maintenance shaft set in the right-hand wall, and continue forward through the hallways, clearing or ignoring enemies as you encounter them.
- Keep your eyes on the right for breakable grates, and keep going straight until you reach the first encounter.
How to defeat Harrow, Dredgen-Apprentice
The first boss encounter in Equlibrium pits you against a dual Praxic Blade-wielding Gladiator named Harrow, Dredgen Apprentice, the master of the boss of the Fire and Ice Exotic mission.
This fight is an expansion on what you learned in the first encounter. As before, you’ll be using the Gathering Shadows mechanic to build up what is now the Shadow Apprentice buff. Here’s how it all works:
- Drop down into the encounter area to meet Harrow as he activates his two Praxic Blades.
- Clear the first wave of enemies near the doors across from where Harrow starts the encounter.
- Return to his original location and wait for more enemies to open the doors to either side of where the boss first stood.
- In the hallways and rooms behind the doors, navigate around until you find Lackey enemies, who drop the Darkness energy you need for the mechanic.
- Continue clearing Lackeys until you earn the Shadow Novice buff, then advance it to Shadow Apprentice by doubling the amount of Shadow you hold.
- With the Shadow buffs, you’ll now see several devices in each room covered in the same Darkness energy. You need to find the correct one and use the special grenade ability on it to close it.
- It’s unclear exactly how to discern which is the correct one, but when you do find it, the message “Emergency subsystems activate” will appear in the bottom left of your screen.
- Return to the main area where it’s time to drop Harrow’s shields. There are two ways:
- Lure Harrow onto the red bay doors on the floor, then shoot the fuse above the nearby door to open one of the doors. Bait Harrow into falling into the hole to remove some of his shields.
- Hit the devices covered in Darkness energy until the electrical pylons at the four corners of the room light up. Lure Harrow to them and make one of his attacks hit the pylon to discharge the energy, removing more of the shield.
- Once Harrow’s shield is down, you have about 30 seconds to damage him before he goes immune again.
- Note that once destroyed, the pylons and fuses do not regenerate, meaning you likely only have three damage phases before you need to try again.
- When Harrow reaches the split in his health bar, his shields will reset, and he’ll cut a hole in the back wall of the arena and attempt to run. At the other end of the hallway, however, those shields will falter, giving you enough time to finish the fight.
How to Board the Malphas Contemptus and Infiltrate the Command Ship
Time for the second platforming section of Equilibrium. To start, flip the switch in front of the Harrow reward chest to open the bay door. Wait a moment for the Malphas Contemptus to enter below you and to the right, then jump down onto the platform on its edge.
- Head to the far end of these platforms and turn left. Use the two red-lit switches to open the blast doors set in the left-hand wall, then jump in and descend.
- Drop to the lowest level you can reach, then continue using the red-lit platforms to progress along the ship’s underside until you see another breakable grate on your left. Go through it.
- Proceed until you see the Malphas Contemptus area marker in the bottom left of your screen, and proceed forward until you reach a massive ship hangar.
- Clear the enemies and use the central console to activate the moving platforms. Take them up and to your right, then use the central, circular platform to ascend into the ship proper.
- Continue down the linear set of passageways until you reach a larger room with a pair of Behemoths in it. Head to the tank elevator at the back of the room and crouch to enter the tunnel below it.
- There are four grates you can shoot out at the bottom of the tube. Three lead to dead ends, and a fourth has a path forward.
- Proceed until you reach another massive room. Your goal here is to reach the open pipe high above and on the other side from where you came in.
- There are numerous ways to reach the pipe, which is across the gap and above and ot the right of the platform where the enemies spawn.
- You can use the central device to get a little height and jump onto the platforms above the entrance or the ones across the way, Grapple and Eager Edge Sword across the gap, or any number of other paths.
- Once in the pipe, progress down the once again linear pathway until you reach a room with two Praetorian enemies. Clear them, and you’ll find the final boss arena in behind the door they were guarding.
We’ll continue to update this article as we discover more about the Equilibrium Dungeon.
Check out our dedicated Destiny 2 page for much more on the game.


